Struggling with blurry prints, uneven ink density, or washed-out colors in your RIP software for DTF printing? DTF printing demands precision, especially for white underbase and color management in Print Phase workflows.
This guide delivers step-by-step fixes to sharpen resolution, calibrate profiles, and optimize settings for professional DTF printing results-perfect for beginners facing common RIP software quality issues with Print Phase.
Key Takeaways:
What is RIP Software and Print Quality?
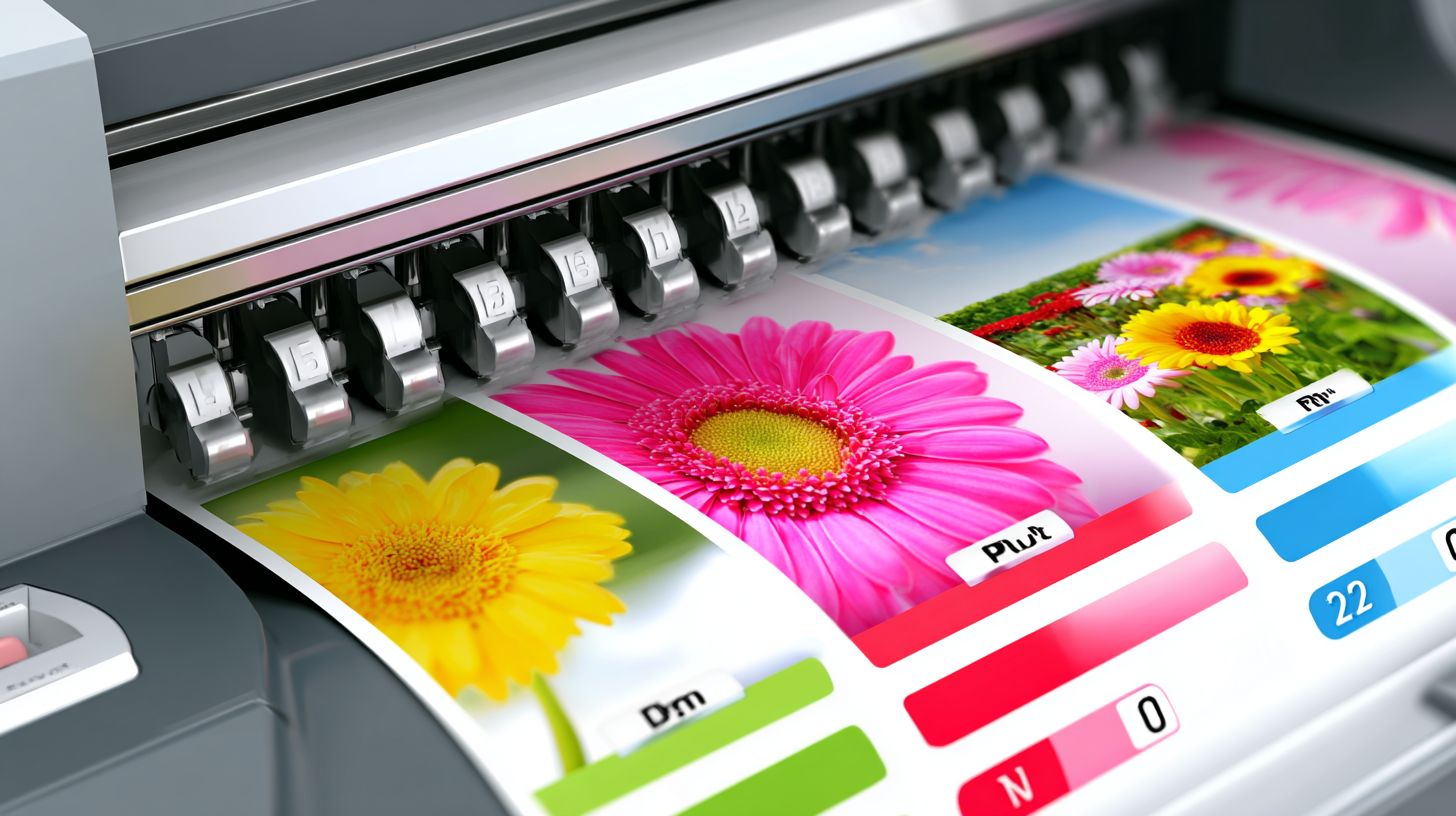
RIP software, or Raster Image Processor software, transforms digital files into printer-ready raster image images, directly controlling print quality through dpi settings like DPI, ink density, and color profiles in dtf printing and wide format workflows.
This processor software converts vector and raster images into data that drives printer nozzles, managing CMYK channels and CMYK inks white ink for optimal results on dark garments. It ensures color accuracy and smooth gradients by handling variable droplets and print order.
Key metrics like resolution DPI, white ink layering, and pass count define output sharpness and vibrancy. Poor settings lead to issues like banding, while proper configuration boosts workflow efficiency for professional prints.
In DTF printing workflows, RIP software handles film transfer prep, including White underbase layers and adhesive powder adhesion. Later sections explore tuning these for superior color management and reduced ink consumption.
Key Role of RIP in Digital Printing
RIP software acts as the bridge between design files and physical prints by processing raster images, managing ink channels including White ink and CMYK inks, and optimizing print order for production speed in DTF printing.
It generates halftone patterns for gradient smoothness, preventing jagged transitions in images like sky fades or skin tones. Experts recommend adjusting droplet size and choke settings to refine these outputs on wide format printers.
For dark garments, RIP creates a white underbase layer, followed by a highlight layer for opacity. This controls print phase and pass count to avoid overlaps, ensuring even coverage during heat press application.
On MUTOH equipment like mutoh equipment, tools such as VerteLith Vertelith RIP streamline large format jobs by automating media presets and test swatches. Proper setup enhances color vibrancy and garment colors without wasting film.
Common Print Quality Issues in RIP Workflows
Poor rip software settings often cause banding issues, fuzzy edges from low ink density, and moir patterns due to mismatched icc profiles ICC profiles in DTF printing workflows.
Research suggests incorrect pass count leads to visible stripes from wrong pass count, especially on large designs. Adjust this in your RIP to match print head speed and media type for smoother results.
- Pixelation from low resolution DPI, fix by setting at least 300 DPI for sharp edges on garments.
- Color shifts without proper color profiles, calibrate using test swatches to align screen and print.
- Excessive ink consumption on white underbase, reduce via opacity settings and variable droplets.
- Banding from wrong print phase, optimize pass overlaps for even ink laydown.
These problems stem from unoptimized ink density or media presets. Run calibration prints and tweak underbase layer thickness to achieve consistent professional prints across garment colors.
Quick Fixes for Poor Print Quality in RIP
Immediate adjustments to resolution dpi and color profiles can resolve common RIP software print defects like pixelation and color vibrancy loss without software changes. These fast, no-cost tweaks target opacity settings and gradient smoothness for instant improvements in DTF printing. They work across RIP software like Vertelith RIP, Acrorip, or Caldera.
Focus on white underbase layers and ink density control first to boost print quality on dark garments. Simple calibration steps enhance color management and reduce banding issues. Expect better results in film transfer prints right away.
These methods improve workflow efficiency without slowing production speed. Test on heat press samples to confirm gains in white ink opacity settings and CMYK channels. Follow the steps below for professional prints.
Adjust Resolution Settings First
Start by setting resolution DPI to 720-1440 for Epson printers or MUTOH equipment to eliminate pixelation in DTF printing film transfer prints. Check your source image first to ensure it meets minimum standards. This step sharpens details in raster images via your processor software.
Match the RIP settings to your printer’s maximum capabilities for optimal results.
- Verify source image at 300 DPI minimum; resample if needed in 2 minutes.
- Set RIP to printer max, like 1440 DPI for fine detail in large format prints.
- Enable variable droplets for better ink density and droplet size control.
- Print test swatches on dark garments and heat press in 5 minutes to check.
Avoid resolutions over 1440 DPI, as they slow production speed and raise ink consumption. Use media presets in your RIP software for quick setup. This fixes banding issues and improves gradient smoothness.
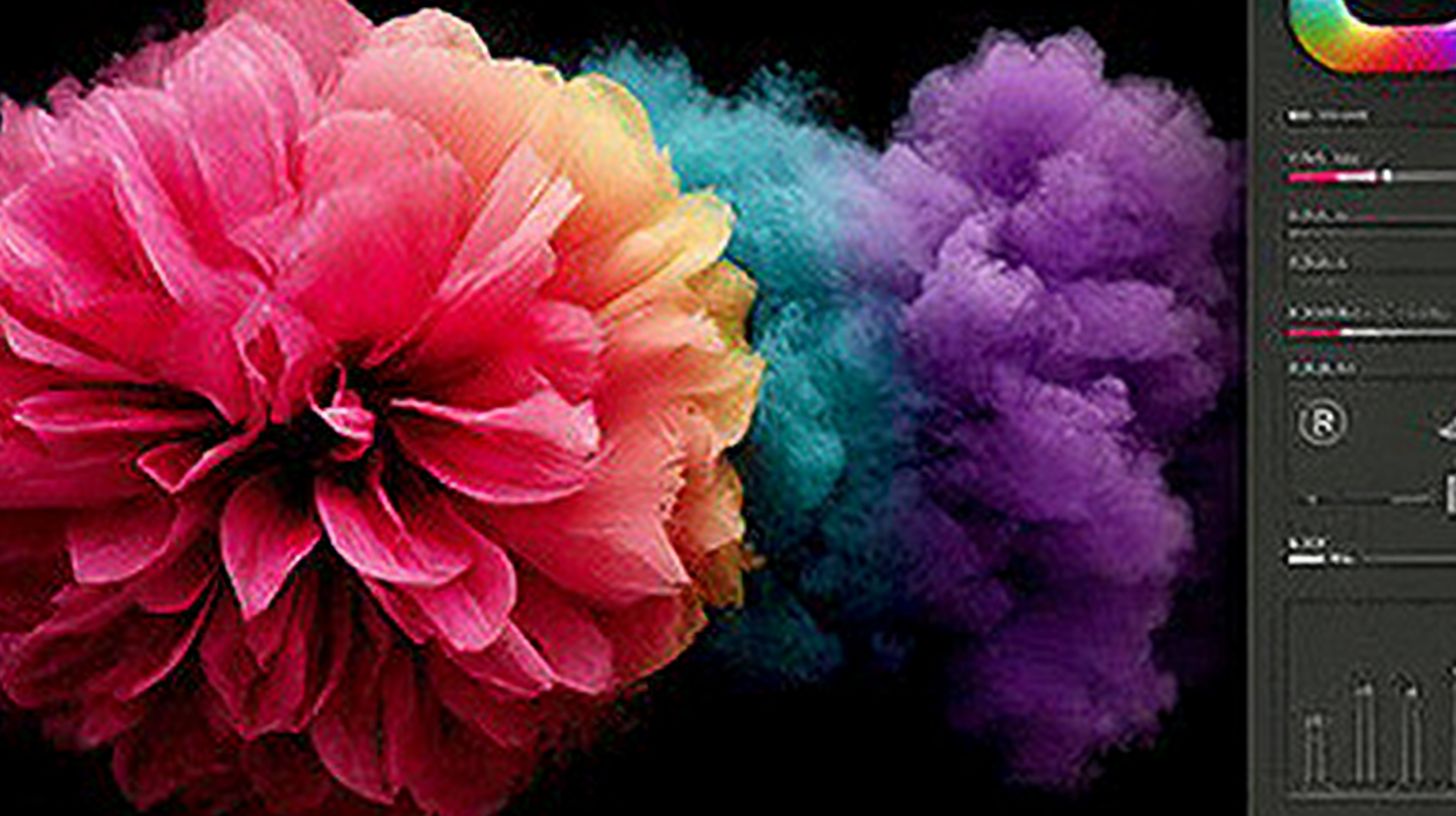
Calibrate Color Profiles Immediately
Calibrating ICC profiles ensures color accuracy across CMYK channels and white ink, preventing shifts in DTF prints from printer nozzles. Load the right profile into your RIP software like Acrorip for immediate gains. This step enhances color vibrancy in professional prints.
Printer-specific profiles prevent common errors in print order and ink channels.
- Find ICC profiles for your ink and media from standard sources in 3 minutes.
- Import into RIP software and assign to your printing workflow.
- Run a colorimeter test on heat press samples for underbase layer verification.
- Fine-tune choke settings by small amounts and adjust pass count if needed.
Proper calibration reduces waste from mismatched color profiles and improves opacity on garment colors. Test highlight layers and white underbase for smooth gradients. Integrate into your daily routine for consistent wide format output.
How to Optimize Image Preparation for Better Prints
Proper image prep with correct file formats and resizing prevents many RIP defects like moir patterns and fuzzy edges in large format printing. Focus on pre-RIP optimization for raster images to match media presets and boost print head compatibility in RIP software. This step ensures smooth printing workflow for DTF printing and wide format jobs.
Start by selecting lossless formats that preserve CMYK channels and ICC profiles. Resize images to align with your printer’s DPI settings, such as 720 DPI for mutoh equipment. These practices reduce banding issues and improve color accuracy before RIP processing.
Details on formats and resizing follow in the next sections. Proper prep enhances white underbase opacity for dark garments and maintains gradient smoothness. Experts recommend testing with print swatches to verify results in your processor software for print head compatibility.
Integrate color management early to control ink density and droplet size. This approach supports production speed in tools like Vertelith RIP while achieving professional prints with color vibrancy.
Choose the Right File Formats
Use TIFF or high-res PNG with embedded ICC profiles ICC profile over JPEG to maintain cmyk channels and avoid compression artifacts in RIP processing. TIFF offers lossless quality ideal for production speed, while PNG handles transparent white underbase for dtf printing on dark garments. Avoid JPEG due to its lossy nature that causes banding issues.
Follow these steps for conversion: first, open your image in Photoshop. Convert to TIFF or PNG, embed the color profile, and flatten layers to streamline ink channels. This prevents errors during film transfer or heat press prep.
- Convert in Photoshop to TIFF for best results.
- Embed ICC profile matching your media presets.
- Flatten layers and save without compression.
For example, use TIFF files in CADlink Digital Factory to support white ink layers and choke settings. This boosts workflow efficiency and color vibrancy on garment colors. Test with underbase layer previews for opacity.
Resize Images Without Losing Quality
Resize images in RIP software using bicubic interpolation to preserve gradient smoothness and prevent pixelation at target dpi settings like 720 for wide format large format. Upscale originals to 1.5x print size first in Photoshop or Epson printer tools for sharp print quality results. This matches printer nozzles and pass count needs.
Apply a sharpen filter with amount 50-100% after resizing to enhance edges. Import to RIP with media presets and preview droplet size and variable droplets. Never downsize below 300 DPI to maintain print quality.
- Upscale to 1.5x print size in Photoshop for DTF printing.
- Apply sharpen filter for clarity in the Print Phase.
- Import to RIP and match resolution DPI.
- Preview droplet size in test swatches.
For DTF printing, this ensures White underbase highlight layer detail and print order accuracy with White ink. Adjust opacity settings for ink consumption control in print phase. Results show better color accuracy on adhesive powder transfers.
Step-by-Step Guide to RIP Software Settings
Master RIP settings in RIP software like DPI, rendering modes, and sharpening to achieve professional prints with optimal ink consumption and color vibrancy. This comprehensive numbered guide covers core settings for beginners in DTF printing. Follow these steps to double your workflow efficiency and produce high-quality outputs on dark garments or wide format media.
Start with DPI settings to match your hardware, then move to rendering modes for better gradient smoothness. Each step includes quick actions and test prints to verify results. See detailed configs under the subheadings below for color management and ink density tweaks.
Experts recommend testing on scrap fabric before full runs to avoid printer nozzle issues. Adjust pass count and white underbase for opacity on garment colors. These changes improve production speed without sacrificing print quality.
Set Proper DPI for Your Printer
Match DPI to your hardware: 720 DPI for Epson printers, 1440 for MUTOH equipment to balance print quality and production speed. Start by identifying your printer model, which takes about one minute. Use this info to select the right media preset in your RIP software.
- Choose a preset like VerteLith in the software menu.
- Set resolution DPI to 300-600 for drafts, 720+ for final film transfer prints.
- Run a quick test print, which takes around 10 minutes, to check for banding issues.
Mismatched DPI often leads to nozzle clogs, so always align with your print head capabilities. For large format jobs, higher settings enhance color accuracy in CMYK channels. Preview the raster image before committing to full ink channels.
Test on dark garments to ensure white ink layers print cleanly. Adjust droplet size if edges look fuzzy. This step optimizes your printing workflow for consistent results.
Enable High-Quality Rendering Modes
Activate enhanced rendering in RIP software to increase pass count from 8 to 16 for superior gradient smoothness and reduced banding issues. Open the quality tab first to access these options. Enable High Quality or Photo mode for detailed DTF printing.
- Select the mode and adjust ink density to appropriate levels for your media.
- Preview the underbase layer to confirm opacity settings for dark fabrics.
- Increase passes gradually to avoid excess ink consumption.
This setup improves results on garment colors, especially with adhesive powder applications. Use ICC profiles for better color vibrancy across print phases. Test the output on a heat press to validate color profiles.
Rendering modes help manage variable droplets for smooth transitions in designs. Avoid low modes for professional prints, as they can cause visible lines. Fine-tune for your specific processor software to boost overall efficiency.
Tune Sharpening and Noise Reduction
Fine-tune sharpening to appropriate levels and noise reduction to low settings to fix fuzzy edges without introducing artifacts around print head paths. Begin by scanning test swatches to identify noise in your current prints. Focus adjustments on the highlight layer for best results.
- Set sharpen radius between 1.0-1.5 pixels based on your resolution.
- Apply changes selectively to avoid over-processing CMYK channels.
- Validate the tuned print on a heat press for real-world performance.
Over-sharpening increases ink use, so preview choke settings and print order first. This balances color management with sharp details on dark garments. Use simple logos for initial tests to spot issues quickly.
Noise reduction smooths white ink layers without blurring fine lines. Combine with opacity settings for optimal film transfer. Regular tuning keeps your wide format outputs crisp and professional.
Why Color Management Matters in RIP
Effective color management via ICC profiles ensures high color accuracy across white ink and CMYK channels. This approach proves essential for matching garment colors in DTF printing. It helps maintain consistent results from design to final print.
Proper color management in RIP software cuts down on errors like reprints. It directly supports fixes for moir patterns and banding issues in later steps. Operators see improved workflow efficiency with fewer adjustments needed.
Research suggests that strong color profiles enhance print quality on dark garments. They optimize white underbase and CMYK layers for better opacity. This leads to vibrant professional prints without wasted materials.
Focus on ICC profiles tailored to your printer nozzles and media presets. They streamline print order and reduce ink consumption. Overall, they boost production speed while preserving color vibrancy.
Install and Select ICC Profiles
Install ICC profiles from the International Color Consortium tailored to your Epson printer or HP Plotters for precise CMYK inks and white ink matching. This step takes just minutes and sets the foundation for accurate color management. It prevents shifts in film transfer results.
Download the right profiles for your DTF printing setup. Install them directly into Caldera or Onyx RIP software. Restart the program to make them available in media presets.
- Download ICC profiles matching your printer model (Epson printer or HP Plotters) and CMYK inks channels.
- Install via the RIP’s profile manager, often under color settings.
- Assign to jobs through media presets for automatic application.
- Soft-proof colors on screen to preview underbase layer and highlights.
Test with swatches on adhesive powder film. Adjust choke settings if needed for dark garments. This ensures smooth gradients and high resolution DPI output.
Fix Color Banding and Moir Patterns
Increase pass count to 12-16 and vary droplet size to eliminate color banding and moir patterns in high-density gradient areas. These tweaks in RIP software improve gradient smoothness. They work well for wide format and large format prints.
Start by switching to stochastic screening in your RIP software like Flexi. Reduce ink density slightly per channel to avoid over-saturation. Randomize line angles for better print head performance.
- Enable stochastic screening for finer dot patterns.
- Lower ink density in CMYK and white channels.
- Randomize angles to break up repeating patterns.
- Print tests on adhesive powder film before full runs.
Monitor DPI settings and opacity settings for MUTOH equipment. Adjust print phase and variable droplets for even coverage. This fixes most banding issues and enhances color vibrancy in production.
Troubleshoot Common RIP Print Defects
Systematic troubleshooting targets fuzzy edges, pixelation, streaks, and misalignment in RIP software. Start with a defect diagnosis tree: inspect the RIP preview for edge issues, check nozzle patterns for streaks, verify media alignment, and test print order for layers. This approach improves print quality in DTF printing workflows.
Follow ordered steps for each defect. Use print head checks and choke settings first, then adjust pass count and media presets. Experts recommend previewing white underbase layers separately to spot problems early.
For persistent issues, run test swatches on dark garments. Calibrate ICC profiles and droplet size to enhance color accuracy and gradient smoothness. This method boosts workflow efficiency without slowing production speed.
Address banding issues by tweaking ink density in CMYK channels and white ink. Reset print phase in tools like Vertelith RIP for wide format printers. Regular maintenance on printer nozzles prevents ink consumption waste.
Solve Fuzzy Edges and Pixelation
Apply 2-5 pixel choke settings and boost opacity settings to 100% on underbase layer to sharpen fuzzy edges and eliminate pixelation. Inspect edges in the RIP preview first to confirm the issue stems from vector rasterization.
Set choke in vector tools for outlines on dark garments. Increase highlight layer density to refine details in DTF printing. Clean the print head to remove clogs affecting resolution DPI.
- Zoom into RIP preview for edge inspection.
- Apply choke settings via vector editor.
- Adjust ink density on highlight layers.
- Flush and clean printer nozzles.
DTF shops using this saw clearer professional prints on garment colors. Fine-tune droplet size and DPI settings for smoother gradients. Test with film transfer samples before full runs.
Eliminate Streaks and Misalignment
Realign print order and flush printer nozzles to stop streaks and multilayer misalignment in white underbase prints. Run a quick nozzle check pattern to identify gaps in ink channels.
Reset print phase in RIP software for consistent layering. Calibrate media feed settings to prevent shifts during large format jobs. Enable multi-pass printing to reduce banding issues.
- Print and review nozzle check in 5 minutes.
- Reset print phase in processor software.
- Calibrate media presets for feed accuracy.
- Test with increased pass count.
On MUTOH equipment, this fixes streaks from variable droplets. Verify color profiles for color vibrancy post-fix. Run test swatches with adhesive powder before heat press application.
Hardware Factors Affecting RIP Print Quality
Hardware like clean print heads and matched ink/media accounts for print quality variance beyond software settings in RIP software. While RIP tools handle color management and DPI settings, hardware sets the foundation for consistent results. This section focuses on maintenance to ensure color vibrancy in DTF printing.
Printers demand regular upkeep to support White underbase and CMYK inks channels properly. Neglected hardware leads to banding issues or poor gradient smoothness, even with optimal ICC profiles. Pair this with software tweaks for professional DTF printing.
Focus on printer nozzles and print head alignment to maintain production speed without sacrificing quality. Clean components prevent clogs in White ink channels, vital for dark garments. Consistent hardware care boosts workflow efficiency.
Match media presets to your setup for accurate film transfer and Heat press results. This interplay between hardware and RIP software ensures color accuracy and reduces ink consumption waste. Regular checks keep outputs sharp across large format runs.
Printer Maintenance Essentials
Daily nozzle pattern tests and bi-weekly print head cleans prevent streak defects in high-volume DTF printing workflows. These steps keep printer nozzles clear for reliable White ink flow. Integrate them into your daily routine for steady print quality.
Run a nozzle check every morning before starting jobs. Look for gaps in the pattern, which signal clogs in ink channels. This quick test, often under 15 minutes, maintains resolution DPI and droplet size consistency.
- Perform nozzle pattern tests daily to spot issues early.
- Flush white ink channels weekly to avoid buildup.
- Align print heads every 500 prints for precise layering.
- Update firmware regularly for optimal printing workflow.
For Mutoh equipment or similar, follow these practices to enhance pass count accuracy. They support Vertelith RIP profiles by ensuring hardware delivers on variable droplets. Result: smoother underbase layer and reduced banding issues.
Media and Ink Compatibility Checks
Verify media presets match PET film and adhesive powder for dark garments to ensure heat press transfer without warping. Test ink density on sample media first. This confirms compatibility before full runs.
Adjust RIP for film transfer thickness and check CMYK/white ink curing temps. Mismatches cause peeling or dull color vibrancy. Use test swatches to dial in opacity settings and choke settings.
- Test ink on sample media for adhesion and cure.
- Adjust RIP profiles for transfer film thickness.
- Confirm curing temperatures for white and CMYK layers.
- Validate with print order for underbase and highlight layers.
In wide format DTF, these checks optimize color profiles and print phase alignment. They prevent failures during heat press, ensuring vibrant results on various garment colors. Pair with raster image processor software for peak performance.
Advanced RIP Techniques for Pro Results
Advanced techniques like batch processing double production speed while custom profiles ensure pro-level color vibrancy for large format jobs. Experienced users scaling from basics gain workflow efficiency by automating repetitive tasks in RIP software. These methods cut downtime and boost output for DTF printing on dark garments.
Focus on ink channels and print order to streamline operations. Pros use dashboard monitoring to spot issues like banding early. This approach suits high-volume shops handling wide format runs.
Integrate ICC profiles for precise color management across CMYK channels and white ink. Adjust pass count and DPI settings for sharp gradients without excess ink consumption. Results include consistent professional prints ready for heat press application.
Test swatches reveal improvements in color accuracy and opacity settings. Tailor setups for media presets like film transfer sheets. These techniques elevate print quality in demanding production environments.
Batch Processing Optimization
Optimize batch processing by grouping jobs by ink channels and print order to cut setup time in VerteLith RIP. Start by sorting files based on garment colors to align white underbase layers efficiently. This reduces printer nozzle clogs and maintains steady production speed.
- Sort jobs by garment colors to group similar underbase needs.
- Set queue with underbase first, followed by highlight and CMYK layers.
- Enable nesting to maximize media use and minimize waste.
- Monitor via dashboard for real-time adjustments on resolution DPI and choke settings.
Professionals run multiple designs through the printing workflow at once. This handles variable droplets for smooth gradients on large format sheets. Expect fewer banding issues with proper print phase sequencing.
For DTF runs, prioritize white ink opacity before color vibrancy layers. Use adhesive powder compatibility in your queue setup. These steps ensure flawless film transfer and heat press results.
Custom RIP Profiles for Specific Jobs
Create custom RIP profiles adjusting ink density and pass count for jobs like dark garments or large format to match exact media needs. Duplicate a default profile in your processor software as a starting point. Fine-tune for specific printers like Mutoh equipment to optimize print head performance.
- Duplicate the default profile for safety.
- Tweak droplet size and ink density for opacity on dark fabrics.
- Save for repeat jobs to speed up future runs.
- A/B test with test swatches to compare color profiles.
Adjust DPI settings higher for intricate designs needing gradient smoothness. Lower pass count saves ink on lighter media while boosting throughput. This delivers pro results in color management for CMYK and white ink layers.
Example: For black t-shirts, increase underbase layer thickness for vivid colors. Wide format shops refine these for consistent output. Monitor ink consumption to balance quality and cost in your workflow.
Free vs Professional RIP Software Comparison
Free tools like Acrorip lack advanced color management, while pro options like VerteLith, Caldera, and Onyx deliver superior print quality.
Professionals choose paid RIP software for features like precise White ink control and ICC profiles. These tools handle DTF printing on dark garments with better White underbase layer opacity. Free versions often struggle with ink density and droplet size adjustments.
Pro software boosts workflow efficiency through batch processing and Print Phase optimization. Users see smoother gradient smoothness and fewer banding issues on wide format prints. Test with media presets to match your MUTOH equipment.
Compare options in the table below to pick the right fit for your DTF printing workflow in Philippines, Malaysia, or International Color Consortium standards.
| Tool | Price | Key Features | Best For | Pros/Cons |
|---|---|---|---|---|
| Acrorip | Free | Basic DPI settings, simple CMYK channels | Beginners in DTF printing | Pros: Easy setup. Cons: No ICC profiles, limited white ink. |
| VerteLith | $500/yr | White ink control, batch processing, choke settings | DTF pros on dark garments | Pros: Fast production speed. Cons: Steeper learning curve. Supports Epson printer and HP Plotters. |
| Caldera | Subscription | Advanced color profiles, variable droplets, pass count | Large format pros | Pros: Excellent color accuracy. Cons: Higher cost for small shops. Alternative to Onyx. |
Limitations of Free RIP Tools
Free RIP software tools cap at basic resolution DPI, lack ICC profiles, and slow production speed compared to premium options like Flexi or CADlink Digital Factory.
These tools often miss white ink control, leading to opacity issues on dark garments. Without proper underbase layer settings, prints show weak color vibrancy after heat press. Test film transfer prints reveal thin white layers.
- No white ink control causes poor opacity settings and faded designs.
- Basic color accuracy skips color management for CMYK channels.
- Lack of batching doubles setup time for multiple garment colors.
- Frequent crashes disrupt print head alignment and printer nozzles.
Free software limits ink channels and droplet size tweaks, increasing ink consumption. Pros switch for reliable print phase and highlight layer control. Use test swatches to spot banding issues early.
Upgrade to Premium RIP Software Today
Upgrade from free tools to premium RIP software for better quality, faster results, and advanced features like custom ICC profiles and batch processing. Premium options handle complex DTF printing tasks with precision. They optimize white underbase and color management for consistent output.
Switching to DTF printing delivers clear ROI through faster production and fewer errors. Expect smoother workflows that reduce time on print quality tweaks. Professionals use RIP software for dark garments and vibrant designs.
Key wins include pro color vibrancy, perfect White underbase, and scalable setups with ICC profiles. For example, adjust ink density and DPI settings easily for sharp gradient smoothness using CMYK inks and White ink. This cuts banding issues and boosts efficiency.
- Achieve color accuracy with precise CMYK inks channels and choke settings in the Print Phase.
- Master pass count and droplet size for optimal ink flow on garment colors with Caldera or Onyx.
- Streamline print order and variable droplets with Flexi or CADlink Digital Factory to minimize waste.
Visit needlic.com to upgrade now with Acrorip, Epson printer, HP Plotters, MUTOH equipment, or VerteLith for professional prints using Heat press in the Philippines, Malaysia, or via the International Color Consortium.
🚀 Upgrade Your Embroidery Workflow
Stop wasting time with low-quality tools. Use professional software for faster and better results.