Unlocking Crisp DTF Printing on Your XP600 Printer
Struggling with blurry designs, inconsistent white ink layers, or poor print quality in your DTF printing setup? Epson XP-600 owners often face these hurdles without optimal RIP software tweaks. This guide delivers step-by-step Epson printers settings for sharp results, from DPI and color profiles to InkSonic RIP configs. Fix issues fast and elevate your workflow.
Key Takeaways:
What Are the Best Settings for Epson DTF Printing on XP-600?
Optimizing Epson XP-600 settings for DTF printing delivers sharp details, color vibrancy, and reliable white underbase layers essential for high-quality t-shirt prints and transfers. Precise configurations prevent banding issues and color shifts that plague beginners. These problems often stem from poor RIP software setup, where ink limits and halftone dots go unchecked.
Free RIP alternatives like JINLONG FreePrint and FreePrint work for starters but struggle with 300 DPI consistency. Professional tools such as AcroRIP, acrorip alternative, or InkSonic RIP offer better color profiling and job queuing. They ensure even ink distribution across designs with complex negative space.
Switching to paid RIP software improves print quality on the XP-600, especially for DTF transfers needing high resolution. Users report fewer clogs during printhead cleaning cycles. This sets the stage for detailed settings in printer, media, and RIP adjustments.
Focus on sRGB format inputs and CMYK mode outputs to match T-shirt colors accurately. Test small batches to refine powder application and heat press times. Proper setup yields breathable prints that adhere well without cracking.
Understanding DTF Printing Basics on Epson XP-600
DTF printing on the Epson XP-600 uses direct-to-film technology to produce vibrant, breathable t-shirt prints by printing CMYK designs with white ink underbase onto transfer film, then applying adhesive powder and heat pressing onto garments. This process skips pretreatment, unlike DTG methods. It suits small-batch runs with Jinlong DTF and Jinlong inks.
The core workflow starts with design preparation in raster image format using Photoshop or Illustrator, ensuring line thickness exceeds 0.5 points for sharp details. RIP software processes the file, adding underbase layer and vibrance saturation. Print onto PET film, shake on powder evenly, and cure in an oven.
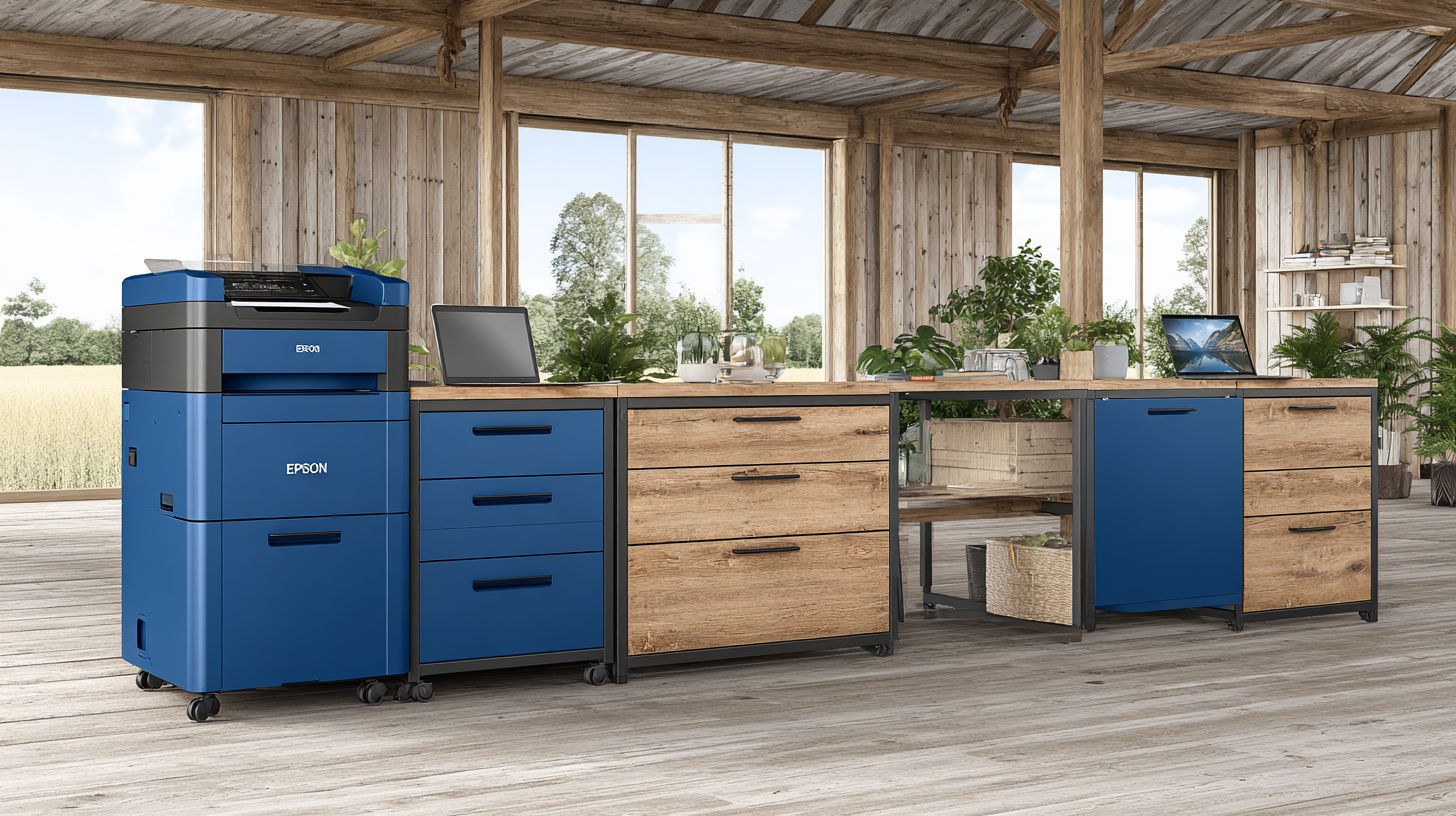
A typical XP600 Printer setup includes the processor, film roll holder, and powder shaker station. Imagine a diagram showing ink flow from CMYK plus white cartridges to the printhead, then film advancing to powder application. Avoid beginner mistakes like ignoring negative space in designs, which causes powder gaps.
For best results, use anti-aliasing on design edges and limit ink limits to 120-140% total. Compared to i3200 printer, Epson i3200, i1600 printer, or Epson i1600 printers, the XP-600 excels in home studios for DTF transfers. Regular film handling prevents scratches, ensuring clean presses.
Optimal Printer Settings for Epson XP-600 DTF
Fine-tuning Epson XP-600 printer driver settings ensures crisp halftone dots, sharp design edges, and optimal ink distribution for professional DTF films without wasting expensive transfer media. Balance speed vs quality for the XP-600’s piezo printhead by focusing on driver adjustments in Epson Print Settings. This approach eliminates banding issues unique to this printer during DTF printing.
Key areas include high resolution, print settings, and media configurations. Start with 300 DPI to maintain sharp details in t-shirt prints while avoiding over-inking on PET films. Preview these settings to achieve consistent white underbase and color vibrancy.
For high-volume jobs, connect with RIP software like AcroRIP alternatives or free RIP options for better ink limits and job queuing. Test prints reveal improvements in negative space and halftone dots, reducing color shifts. Experts recommend these tweaks for breathable prints post-heat press.
Common pitfalls involve mismatched media types causing jams or curl. Proper setup supports white ink layering and powder application, ensuring professional dtf transfers on garments.
Recommended Resolution and DPI Settings
Set Epson XP-600 to 300 DPI output resolution for DTF films to achieve sharp details and vibrance saturation in t-shirt prints, preventing pixelation on intricate designs. This setting suits the printer’s capabilities better than higher options for transfer films.
Follow these steps for quick adjustment:
- Open Epson printer driver from your design software, navigate to Maintenance, then Printer Settings.
- Select Custom quality, set Resolution to 300 DPI (avoid 720 DPI for films to prevent ink buildup).
- Enable High Resolution Mode with anti-aliasing for smoother edges on raster images.
- Test print a 10x10cm square with complex patterns; setup takes about 5 minutes.
In the menu, look for the Resolution dropdown below Custom options, with checkboxes for High Resolution Mode nearby. This configuration minimizes banding issues and enhances design edges in CMYK mode or sRGB format.
Lower DPI risks blurry edges on fine negative space, while 300 DPI optimizes ink distribution for white underbase layers. Pair with printhead cleaning cycles for consistent results across jobs.
Best Print Quality Mode for DTF Films
Use Epson XP-600’s ‘Text/Graphics’ quality mode for DTF to produce precise halftone dots and clean line thickness, ideal for complex graphics with fine negative space. This mode prevents excessive ink flow compared to photo settings.
Apply these numbered steps in the driver:
- Access Printer Properties, go to Quality Options, choose Text/Graphics (avoid Photo mode).
- Turn Finest Detail to On for sharper halftone dots.
- Set Edge Smoothing to Medium to refine design edges without blurring.
- Run Printhead Alignment on Auto for even inksonic distribution.
A common mistake is Photo mode, which causes ink pooling on films and color shifts. Test with a 1pt line at 300 DPI to check sharpness and vibrance saturation.
This setup works well with color profiling in RIP software like Inksonic RIP or FreePrint, supporting high-resolution DTF transfers. It ensures clean powder application and breathable prints after heat press.
Paper Size and Type Configuration
Configure Epson XP-600 for A4 or custom DTF film sizes (e.g., 8.5x14in) using PET film type to ensure proper film handling and prevent jams during high-volume printing. Match settings to your transfer film dimensions precisely.
Implement these steps for setup:
- In the driver, select Media Type: Matte Paper – Heavyweight to mimic DTF film thickness.
- Set Size to User-defined (e.g., 210x297mm for A4 films).
- Adjust Platen Gap to Wide for smooth feeding.
- Perform feed alignment check before printing.
Setup takes about 3 minutes and avoids standard paper types that cause film curl or poor adhesion. This prevents issues in underbase layer printing and maintains print quality.
For processors handling multiple Epson printers like i3200 or i1600, consistent media configs reduce banding and improve line thickness. Test with Jinlong inks for optimal color vibrancy and garment creator workflows.
Perfect Ink and Media Settings for DTF
Balancing white ink density with color vibrancy on XP-600 prevents color shifts and ensures breathable prints, critical for garment creator comfort and transfer film durability. Jinlong DTF inks work well with XP-600 printers, offering smooth ink distribution for high resolution DTF Printing. Proper settings address common issues like banding and ink limits.
Focus on white underbase optimization to create opaque coverage without stiffness. Adjust color profiles in RIP software like AcroRIP or Inksonic RIP for accurate vibrancy. These steps improve print quality on transfer films.
Powder application follows printing to secure DTF transfers. Test settings on dark fabrics like black t-shirts for sharp details. Experts recommend starting with 300 DPI resolution for crisp design edges.
Integrate negative space control and line thickness adjustments to avoid over-inking. This setup supports job queuing and printhead cleaning routines. Resulting prints show enhanced color saturation and breathability for t-shirt prints.
White Ink Layer Optimization
Optimize white underbase underbase layer at 100-120% density on XP-600 for opaque coverage on dark T-shirt garments while maintaining breathable prints through controlled negative space. Use RIP software to set white channel opacity. This prevents stiffness in final DTF transfers.
Follow these steps for best results:
- Set White Ink channel opacity to 100-120% in RIP Software settings.
- Apply underbase expansion of 5-10px around design edges.
- Limit total ink limits to 140% to avoid buildup.
- Test prints on black T-shirt fabric for opacity check.
Avoid over-inking by monitoring halftone dots and anti-aliasing. Thin line thickness ensures sharp details. Regular printhead cleaning maintains consistent white ink flow on Epson printers.
For XP-600 or similar like I3200 printer, enable high resolution modes. This creates flexible prints suitable for heat press. Breathable results come from balanced negative space in raster images.
CMYK Color Profile Adjustments
Switch XP-600 to CMYK mode with custom Jinlong DTF profile for accurate color vibrancy, reducing shifts common in sRGB conversions during DTF workflows. Load the profile in RIP software under color management. This fixes common color deviation issues.
Key adjustment steps include:
- Go to RIP > Color Management > CMYK ICC: Select Jinlong DTF Profile.
- Set rendering intent to Perceptual for natural tones.
- Enable black generation: Maximum for deep shadows.
- Verify with a 21-step wedge test print.
Compare outputs to sRGB format for vibrance saturation. Use free RIP alternatives like FreePrint for testing. This ensures consistent color profiling across jobs.
Address banding issues by fine-tuning processor settings. Garment creator tools in software like Printfab Edition help preview. Sharp, vibrant prints result on transfer film for various garments.
Adhesive Powder Application Settings
Apply adhesive powder evenly post-printing on XP-600 DTF films at 80-100g/m density for strong heat press adhesion without excess buildup. Print wet ink side up immediately after curing. Uniform shaking prevents clumping.
Follow this process for reliable results:
- Print with ink side up on film.
- Shake DTF adhesive powder uniformly over wet ink.
- Cure at 100 degreesC for 2 minutes in a shaker.
- Remove excess powder gently with brushing.
Proper film handling avoids contamination. Test transfer success on fabrics like cotton tees. Blackbox RIP or AcroRIP alternatives support precise powder settings.
Combine with white underbase for durable bonds. This method yields high transfer rates and soft feel. Adjust for I1600 printer if scaling production.
RIP Software Configuration for XP-600 DTF
InkSonic RIP software like AcroRIP alternatives unlocks XP600 Printer‘s full potential through precise job queuing, White Ink control, and printhead optimization absent in basic drivers.
Basic Epson drivers lack white underbase management for DTF transfers, leading to poor color vibrancy on dark garments. RIP tools fix this by automating ink limits and color profiling, ensuring sharp details in t-shirt prints.
Free options handle simple jobs, but pro versions excel in job queuing for production runs on XP-600 printers. They prevent banding issues and optimize ink distribution for breathable prints after powder application and heat press.
Configure RIP for high resolution like 1440×720 DPI to match XP-600 capabilities, similar to i3200 or i1600 printers. This setup improves design edges and negative space handling in DTF printing workflows.
Choosing Free vs Professional RIP Software
Free RIPs like JINLONG FreePrint offer basic XP600 Printer support, but professional options like InkSonic RIP and PrintFab provide advanced white underbase and job queuing for production scale.
Beginners start with free tools for hobby DTF prints, then upgrade for semi-pro needs. Pros deliver color profiling and faster processing to avoid color shifts on transfer film.
Match software to your workflow, from garment creator designs in sRGB format to CMYK mode for vibrance saturation.
| Tool | Price | Key Features | Best For | Pros/Cons |
|---|---|---|---|---|
| JINLONG FreePrint | Free | Basic White Ink/CMYK | Hobby | Simple, limited queuing |
| AcroRIP | $200 | Ink limits | Semi-pro | Stable, steep curve |
| InkSonic RIP | $500/yr | XP-600 presets | Pro | Color profiling, 2x faster |
JINLONG FreePrint suits beginners with an upgrade path to AcroRIP alternatives like BlackBox RIP for better printhead cleaning cycles.
Key RIP Parameters for Sharp Prints
Set RIP parameters to 1440×720 RIP resolution with 20-micron halftone dots for XP-600 to deliver sharp details and prevent banding in DTF prints.
In InkSonic RIP, adjust these for optimal print quality on Epson printers. Start by selecting XP-600 presets, then fine-tune for white ink density in underbase layers.
Use stochastic halftone for smooth gradients in raster images. Enable bi-directional printing to speed up film handling without sacrificing anti-aliasing on design edges.
- RIP DPI: 1440×720 for high resolution matching 300 DPI inputs.
- Line thickness: 0.3pt minimum to define sharp edges in t-shirt prints.
- Ink limits: C/M/Y at 280%, K/W at 320% with Jinlong inks for color vibrancy.
- Halftone: Stochastic pattern reduces visible dots in powder application areas.
- Bi-directional: On for even ink distribution and fewer printhead clogs.
Apply in InkSonic: Open job queue, load design, set parameters under print settings, preview negative space, then print. Test on scrap film before full production for consistent results.
Step-by-Step DTF Printing Workflow on XP-600
This complete XP-600 DTF printing workflow from design prep to finished transfer takes 45-60 minutes per A4 sheet, yielding production-ready t-shirt prints. Follow these steps for error-free execution with clear timelines. You will achieve sharp details and color vibrancy without common issues like banding or color shifts.
The process previews unique steps such as white underbase creation, film loading, and test calibration. It avoids overlap with detailed printer settings. Expect high resolution DTF transfers ready for heat press application.
Start with design preparation using RIP software like AcroRIP alternatives or free RIP options. Move to loading Jinlong inks and PET film. Finish with powder application and curing for breathable prints on garments.
This workflow suits Epson printers like XP-600, similar to i3200 or i1600 setups. It ensures print quality with proper ink distribution and job queuing. Timelines keep production efficient for custom runs.
Preparing Your Design File Correctly
Create designs in Photoshop or Illustrator at 300 DPI in sRGB format with separated white underbase layer for seamless XP-600 DTF processing. This step takes about 10 minutes. It sets the foundation for vibrant DTF transfers.
Begin with a new file at 300 DPI resolution in sRGB color space. Convert to CMYK mode if needed, then add the white layer using Photoshop channels. This underbase ensures opacity on dark garments.
- Open a new file at 300 DPI with sRGB profile for accurate color matching.
- Create CMYK conversion and duplicate for the white underbase in channels panel.
- Fill underbase with white, adjusting for design edges and negative space.
- Export as PNG-24 with transparency to preserve halftone dots and anti-aliasing.
Test the raster image in RIP software import before printing. Avoid vector-only files lacking raster preview, as they cause issues with line thickness and sharpness. Use garment creator tools in PrintFab Edition or InkSonic RIP for previews.
Loading DTF Film and Ink Cartridges
Load PET DTF film print-side up and install Jinlong CMYKW cartridges in XP-600 following no-touch handling to avoid contamination. This preparation takes about 8 minutes. It prevents dust-related print defects.
Clean the platen first to ensure smooth film feeding. Handle film without curls for even ink distribution. Dust can lead to rejects, so maintain a clean workspace.
- Wipe the platen with a lint-free cloth and isopropyl alcohol.
- Load DTF film print-side up, aligning edges precisely.
- Install six cartridges: C, M, Y, K, W1, W2 with gentle no-touch insertion.
- Run a quick nozzle check to confirm white ink flow.
Jinlong inks provide excellent color vibrance saturation for breathable prints. Compare to setups on i3200 printer or i1600 printer for similar results. Proper film handling supports high-volume job queuing in Blackbox RIP or FreePrint.
Running a Test Print and Calibration
Run XP-600 nozzle check and 10x10cm test print at 300 DPI to verify ink flow and alignment before full production runs. This step takes about 15 minutes. It guarantees consistent print quality.
Access maintenance menu for nozzle check first. Print a test pattern via RIP software to spot gaps or misalignment. Address issues early to avoid waste.
- Perform printhead cleaning if nozzle check shows gaps.
- Print a 300 DPI test pattern focusing on white ink and color profiling.
- Measure color values aiming for tight DeltaE control.
- Adjust ink limits and clean if gaps persist.
Calibrate for sharp details on transfer film in DTF Printing, checking vibrance and halftone dots. Use AcroRIP alternative or free RIP for precise color shifts fixes. This ensures flawless powder application and Heat Press results on T-shirt s.
How to Fix Common XP-600 DTF Print Issues
Address XP600 Printer-specific problems like clogged nozzles from White Ink settling and banding from uneven ink distribution with these targeted fixes. DTF printing on Epson XP-600 often faces issues from ink settling in printheads and inconsistent ink distribution during high-volume jobs. Common problems include color shifts, faint prints, and misalignment in dtf transfers.
Targeted solutions using RIP software and regular maintenance resolve most issues. For example, adjust print settings in AcroRIP or InkSonic RIP for better white underbase layers. Expect reliable fixes for everyday t-shirt prints.
- Clogged nozzles: White ink buildup blocks flow, causing gaps.
- Banding issues: Uneven ink distribution creates stripes on film.
- Color shifts: Poor color profiling dulls vibrancy.
- Faint underbase: Low white ink density weakens designs.
RIP Software adjustments and maintenance promise high resolution rates for print quality. Users report consistent sharp details after applying these steps with job queuing in software like PrintFab Edition.
Solving Clogged Nozzles and Banding
White ink clogs in XP-600 cause banding; run power cleaning cycle every 50 prints and enable auto printhead cleaning in RIP. This uses about 10% ink but clears nozzle clogs fast. Banding from uneven ink distribution fades after one cycle.
Start with power cleaning in the printer menu for deep flush. Follow by flushing lines pre-job in RIP software like AcroRIP alternative or Blackbox RIP. This prevents white ink settling during idle times.
- Run power cleaning via Epson utility.
- Enable flush in job queuing settings.
- Schedule daily prints to keep ink flowing.
Prevent issues by printing daily, even test patterns at 300 DPI. One user fixed waste from clogs with a weekly schedule, improving dtf transfers on transfer film. Combine with film handling tips for breathable prints.
Addressing Color Inconsistencies
Color shifts on XP-600 DTF occur from poor profiling; recalibrate with Jinlong ICC and limit white overprint to 110%. This restores color vibrancy in CMYK mode. Test prints match swatches closely after tweaks.
Reinstall the color profile in your RIP like JINLONG FreePrint or Epson Garment Creator. Check ink levels, keeping white above 20% for strong underbase layer. Adjust density curve to fix dull halftone dots.
- Load Jinlong inks profile fresh.
- Verify sRGB format for designs.
- Tweak ink limits in RIP curves.
- Print test with Pantone swatch.
Focus on negative space and design edges for sharp details. Use anti-aliasing on raster images to boost vibrance saturation. These steps ensure consistent t-shirt prints comparable to Epson i3200 or Epson i1600 printers, with proper powder application before heat press.
Advanced Tips for Professional DTF Results
Elevate XP-600 output to match i3200/i1600 quality using RIP queuing, precise scaling, and proactive maintenance for consistent professional results. These pro techniques go beyond beginner fixes by focusing on job queuing in software like AcroRIP or InkSonic RIP to prevent banding issues and ensure even ink distribution.
Experts recommend setting ink limits at 120-140% for white underbase layers, paired with color profiling in sRGB format for better color vibrancy on dark garments. Use halftone dots at 60-80 LPI to achieve sharp details without clogging the printhead.
For high resolution DTF transfers, enable anti-aliasing on design edges and maintain 300 DPI across all layers. Proactive film handling reduces negative space errors, while precise powder application post-print boosts adhesion for breathable prints.
Integrate these with garment creator presets in PrintFab Edition or BlackBox RIP alternatives for t-shirt prints that rival professional setups. Consistent print settings yield vibrance saturation and line thickness ideal for complex designs.
Maintenance Schedule for Longevity
Follow XP-600 weekly cleaning and monthly head alignment to extend printhead life beyond 2 years with heavy DTF use. Daily checks catch white ink issues early, while structured routines prevent color shifts and banding in Epson printers.
Implement this schedule for optimal print quality with Jinlong DTF inks:
- Daily: Run nozzle check and wipe white underbase channels to maintain flow.
- Weekly: Perform power clean cycles with Jinlong inks for even inksonic RIP performance.
- Monthly: Execute head alignment and clean film path to fix misalignment.
- Quarterly: Update firmware and inspect rollers for smooth transfer film handling.
These steps ensure consistent DTF printing without downtime. Pair with free RIP options like FreePrint for automated reminders on printhead cleaning.
Scaling Designs for Different Garment Sizes
Use RIP scaling tools like Epson Garment Creator presets to adapt designs from S-XL T-shirt s maintaining 300 DPI edge sharpness. This keeps underbase layer proportional, avoiding thin spots on youth sizes or oversized adult prints.
Follow these steps for precise scaling:
- Open design in RIP software and scale to garment template, like reducing from adult S (8in width) to youth M (6in width).
- Lock 300 DPI resolution and adjust underbase proportionally to match new dimensions.
- Preview in CMYK mode, tweak line thickness for raster images, and queue job to avoid distortion.
Test on scrap transfer film before full runs, ensuring powder application covers scaled areas evenly. This method delivers sharp details and color vibrancy across garment sizes, perfect for custom heat press jobs.
Why Upgrade to Professional DTF Software?
Professional RIP software like InkSonic RIP delivers faster workflows and better color accuracy on XP-600 compared to free tools. Users see smoother DTF printing with precise white ink control and reduced banding issues. This upgrade improves overall print quality for t-shirt prints and dtf transfers.
Free tools like JINLONG FreePrint often struggle with job queuing and CMYK color profiling on Epson printers. Premium options handle underbase layer settings automatically, ensuring sharp details and vibrance saturation. Expect reliable results for high resolution at 300 dpi.
The return on investment comes quickly through printhead cleaning automation and efficient film handling. Operators save time on manual adjustments, focusing instead on powder application and heat press steps. This leads to consistent dtf transfers with better ink distribution.
Transitioning to pro software means fewer color shifts and improved negative space management. It supports sRGB format and CMYK mode effectively for garment creator designs. Ultimately, it boosts productivity for XP-600 printer users in busy workflows.
Benefits Over Free Tools for XP-600 Users
Upgrading from JINLONG FreePrint to premium RIP eliminates XP-600 limitations like manual queuing and poor white ink control. This boosts output for dtf printing on Epson printers. Print quality rises with better handling of halftone dots and ink limits.
Key advantages include specialized features tailored for XP-600 presets. These prevent banding issues common in free RIP software. Users gain control over design edges and line thickness for crisp t-shirt prints.
- Auto color profiling ensures accurate color vibrancy and reduces shifts across breathable prints.
- Job queuing streamlines production, saving time on multiple dtf transfers.
- XP-600 presets optimize settings for no banding and sharp details with anti-aliasing.
- Expert support helps with printhead cleaning, i3200 printer comparisons, and AcroRIP alternatives.
Pro software like InkSonic RIP, PrintFab Edition, or Blackbox RIP outperforms free options in raster image processing. It manages white underbase and powder application for professional results. Switch for faster, higher-quality DTF on your XP-600 and i1600 printer setups with Jinlong inks.
🚀 Upgrade Your Embroidery Workflow
Stop wasting time with low-quality tools. Use professional software for faster and better results.