Launching a t-shirt business with DTF printing? Like optimizing embroidery or RIP software workflows, success hinges on an efficient DTF printer process using Prestige A4 or Prestige R2 Pro, heat press, and PET film. Struggling with clogs, peeling, or slow output? This step-by-step guide delivers the best printing workflow for DTF printing business, from design to scaling, solving beginner pain points for faster, vibrant results.
Key Takeaways:
What is DTF Printing?
DTF printing, or Direct-to-Film printing, is a versatile technique that prints designs using CMYK + white ink onto PET film with adhesive powder, which is then heat pressed onto blank garments like Gildan 5000 for vibrant results on dark fabrics.
This method solves limitations of sublimation dtg and screen printing by allowing custom t-shirts with no minimums. It works well for small business starting an Etsy Shopify store. Operators print high-detail designs on black shirt or cotton polyester blends without pretreatment.
Key components include PET film as the base, special white ink for coverage, and adhesive powder for garment bonding. After printing, a curing system or powder shaker prepares the film. Heat pressing with tools like Hotronix FUSION completes the transfer for durable prints.
DTF suits entry-level beginner setup with low startup costs compared to bulk methods. Beginners use printers like Prestige A4 or HueDrift printers alongside RIP software for color profiles. This sets the stage for an efficient printing workflow in a t-shirt business.
DTF vs DTG and Screen Printing
DTF excels over DTG and screen printing for small business production scale by offering vibrant colors on dark fabrics like black shirts without pretreatment, ideal for entry-level setups with no minimums.
Choose DTF for online sales on Etsy or Shopify where orders vary. It handles custom t-shirts on cotton polyester efficiently. Unlike DTG, it avoids ink clogs with proper nozzle checks and ink circulation.
| Method | Cost per Print | Best For | Pros | Cons |
|---|---|---|---|---|
| DTF | $2-4 | Dark fabrics, cotton polyester | Versatile, no minimums, high detail | Clog-prone if ink agitation ignored |
| DTG | $3-6 | Light fabrics | Soft feel, direct garment print | Pretreatment needed, limited on darks |
| Screen Printing | $1-3 high volume | Bulk runs | Durable, cost-effective large scale | High setup costs, not for small runs |
DTF fits production scale growth from beginner setup to team training. Pair with gang sheets or Flexi DTF Pro for efficiency. Track profit margins by monitoring consumables like PET film and adhesive powder in your workspace setup.
Why Optimize Your DTF Workflow for Business Success
Optimizing your DTF printing workflow can boost profit margins from 30% to 60% in a t-shirt business by reducing production scale time from 15 to 5 minutes per custom t-shirts, enabling scaling for online sales on Etsy and Shopify.
Consider a small business starting with 10 prints daily using a basic DTF printer like the Prestige A4. Without optimization, bottlenecks in white ink ink circulation and adhesive powder application slow output. Scaling to 100 prints daily requires a streamlined process with tools like a powder shaker and RIP software for gang sheets.
Three key benefits emerge from this shift. First, time savings come from automating steps like nozzle checks and ink agitation, cutting manual handling. Source workflows from experienced shops show production doubling without extra staff.
- Quality control improves with precise color profiles and heat press settings, ensuring vibrant prints on dark fabrics or blank garments like Gildan 5000.
- Waste reduction minimizes ruined PET film and consumables through better quality control and equipment care.
- Productivity rises, supporting no minimums for online sales.
With startup costs around $5k for a beginner setup including a curing system and Hotronix Fusion, ROI recoups in 500 prints. Track progress via productivity tracking to sustain growth in your t-shirt business.
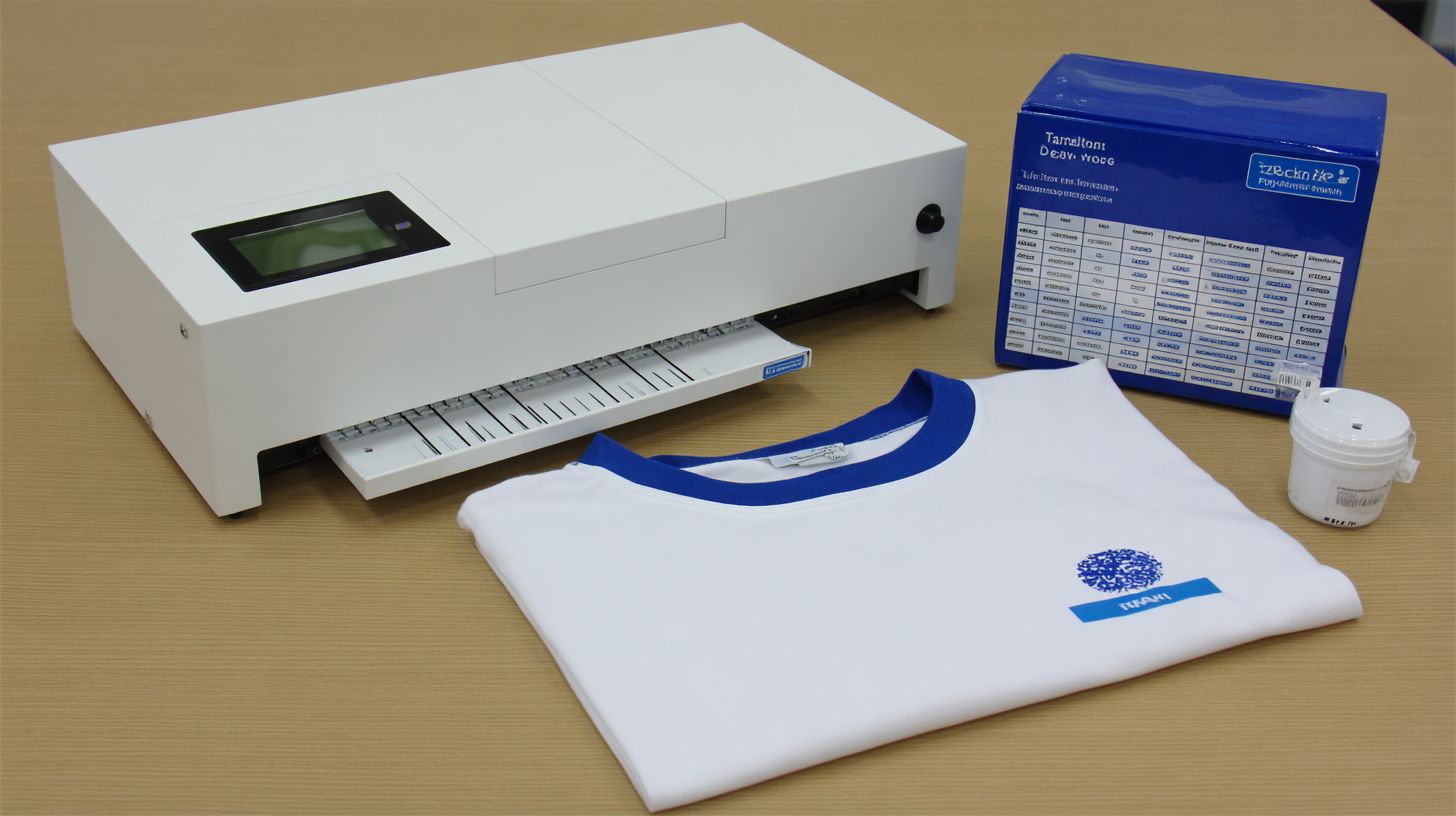
Essential Equipment for a DTF Printing Setup
A beginner setup requires core equipment like Prestige A4 DTF printer, Hotronix FUSION heat press, powder shaker, and PET film to produce high-print quality transfers for blank garments. These items form the backbone of a t-shirt business printing workflow, handling printing, powder application, curing system, and pressing onto fabrics like cotton polyester or dark fabrics.
Entry-level startup costs hover around $5k, covering a compact DTF printer, heat press, and basic consumables such as white ink and adhesive powder. This setup supports custom t-shirts with no minimums, ideal for online sales on Etsy or Shopify.
Focus on workspace setup with good ventilation for ink circulation and powder handling. Regular equipment care like nozzle check ensures consistent print quality and helps maintain profit margins in your DTF printing workflow operation.
Pair these tools with RIP software for color profiles and gang sheets. This entry-level combination beats alternatives like sublimation dtg, screen printing, or vinyl htv for versatility on Gildan 5000 blanks or black shirt.
Printer, Heat Press, and Film Cutter Basics
Start with Prestige A4 for entry-level or Prestige R2 Pro for production scale, paired with Hotronix FUSION heat press and film cutter for efficient DTF printing workflow. The Prestige A4 offers a low learning curve for beginners, making it perfect for small business owners testing custom t-shirts on blank garments.
| Tool | Price | Key Features | Best For | Pros/Cons |
|---|---|---|---|---|
| Prestige A4 | $3k | CMYK + white ink, compact design, ink agitation | Small business, entry-level | Pros: Affordable, easy quality control. Cons: Slower for high volume. |
| Prestige R2 Pro | $6k | High-speed printing, curing system, production-ready | Production scale, team training | Pros: Faster output, reliable for dark fabrics. Cons: Higher upfront cost. |
| Hotronix FUSION | $2k | Auto-open, precise heat press settings, even pressure | Weeding and pressing transfers | Pros: User-friendly, consistent results. Cons: Needs space for operation. |
| Powder Shaker | Varies | Even adhesive powder distribution, automated shaking | Powder application step | Pros: Reduces mess, improves adhesion. Cons: Requires regular cleaning. |
| Film Cutter | Varies | Precision cuts on PET film, adjustable settings | Post-print trimming | Pros: Speeds up printing workflow, accurate edges. Cons: Manual models slower. |
Choose based on your volume, like Prestige A4 for an Etsy shop with personalized tees. Integrate productivity tracking to optimize supply chain for consumables and scale to Flexi DTF Pro or Ninja Transfers as needed.
Maintain tools with daily nozzle check and color profiles tweaks for sharp prints on cotton polyester. This beginner setup supports profit margins through efficient runs on various blank garments.
Step 1: Design Creation and Preparation
Begin your DTF printing workflow by creating vector designs optimized for CMYK + white ink layering, using gang sheets for batch efficiency. This phase sets the foundation for high-quality prints on custom t-shirts and dark fabrics. Beginner-friendly tools make it easy to prepare files without advanced skills.
Focus on print quality by separating colors and white ink layers early. Proper file prep ensures vibrant results on PET film, ready for your DTF printer like the Prestige A4 or Prestige R2 Pro. This step takes under 30 minutes per design batch for a small t-shirt business.
Use gang sheets to fit 4-6 designs on one sheet, boosting productivity in your printing workflow. Test designs on blank garments like Gildan 5000 to check color profiles before full production. Entry-level setups benefit from simple software to avoid common issues like pixelation.
Integrate color profiles matched to your RIP software for consistent output on cotton polyester blends. This preparation minimizes waste from consumables like white ink and adhesive powder. Streamline your beginner setup for no minimums and quick online sales via Etsy or Shopify.
Choosing Beginner-Friendly Design Software like DigiRIP or neoStampa from All American Print Supply
Flexi DTF Pro stands out as beginner-friendly design software with built-in DTF printing templates and color profiles for seamless prep before RIP software processing. Its low setup complexity allows a 1-hour learning curve, ideal for entry-level DTF printing businesses. Start with gang sheets for black shirt designs right away.
| Software | Cost | Key Features | Best For Beginners |
|---|---|---|---|
| Inkscape | Free | Vector editing, basic layering | Zero cost entry, simple tools |
| Flexi DTF Pro | $500 | DTF printing-specific templates, gang sheets | Quick DTF prep, low learning curve |
| Adobe Illustrator | $20/mo | Pro color management, vectors | Accurate CMYK + white ink |
| CorelDRAW | $22/mo | Layering tools, print profiles | Easy white ink separation |
Pick Inkscape for free vector work on custom t-shirts if startup costs are tight. Flexi DTF Pro excels for powder shaker integration and batch efficiency. Adobe Illustrator suits pros handling complex dark fabrics designs on Gildan 5000.
CorelDRAW offers strong layering for white ink prep, matching heat press settings like Hotronix Fusion. Test software with nozzle check prints to verify print quality. This choice impacts your overall production scale and profit margins.
Key File Requirements for DTF (Resolution and Colors)
DTF files need 300 DPI resolution and CMYK + white ink color profiles to ensure vibrant prints on PET film without banding. Set this in Photoshop or Image settings for sharp output on your DTF printer. Low res below 150 DPI causes pixelation on blank garments.
- Set resolution to 300 DPI in document settings for crisp details on cotton polyester.
- Separate CMYK + white ink layer at 100% opacity to handle dark fabrics properly.
- Create gang sheets with 4-6 designs per sheet for batch printing efficiency.
- Export as PNG with transparency for direct PET film transfer, taking about 10 minutes.
Verify white ink layering matches your ink circulation and curing system. Use Flexi DTF Pro or Ninja Transfers style templates for accuracy. This prep supports quality control before adhesive powder application.
Test files on a sample like Gildan 5000 with Hotronix FUSION heat press at standard settings. Proper files reduce waste in your workspace setup and boost productivity tracking. Experts recommend this for small business scaling from sublimation DTG to DTF.
Step 2: RIP Software Processing for Flawless Prints
RIP software processes DTF designs for accurate ink layering, nozzle check, and color profiles essential for Prestige A4 printers. It handles white ink circulation to prevent clogs and ensures vibrant transfers on PET film. This step prepares files for the dtf printer in your t-shirt business workflow.
During processing, RIP software layers white underbase beneath colors for dark fabrics like black shirts or Gildan 5000 blanks. It optimizes ink agitation and checks nozzles automatically on Prestige A4 or R2 Pro models. Proper setup reduces waste and boosts print quality for custom t-shirts.
Experts recommend running ink circulation every few hours to maintain flow, especially with adhesive powder applications later. Preview files to confirm layering before sending to the printer or powder shaker. This keeps your production scale efficient for small business online sales on Etsy or Shopify.
Integrate RIP with your heat press settings and curing system for end-to-end workflow. Test on cotton polyester blends to fine-tune. Consistent processing supports no minimums and high profit margins in entry-level setups.
Best RIP Settings for Vibrant DTF Transfers
Optimal RIP settings include white ink density at 80-100%, ink circulation every 2 hours, and nozzle check before each print for Prestige A4/Prestige R2 Pro. These ensure flawless layering on PET film for heat press transfers. Expect about 5 minutes per print in your DTF printing workflow.
- Load the file into RIP software like DigiRIP or neoStampa for gang sheets or single designs.
- Set white underbase to 120% density for opaque coverage on dark fabrics.
- Apply color profile matched to PET film ICC for accurate hues on blank garments.
- Run nozzle check automatically in Prestige L2 software to spot issues early.
- Use print preview to verify layers, then send to dtf printer.
Skipping circulation risks clogs, harming print quality and equipment care in your t-shirt business.
For production scale, save these as presets for team training. Pair with powder shaker and Hotronix Fusion heat press for consistent results. This setup works for cotton polyester, supporting custom t-shirts with no minimums.
Free vs Professional RIP Software Comparison
Free RIP software lacks advanced color profiles and automation found in professional options like DigiRIP or neoStampa, leading to more waste for beginners. Professional versions excel in batch processing for DTF printing businesses. Start with free for entry-level, then upgrade for scale.
| Feature | Free (e.g., basic AcroRIP) | Pro (DigiRIP ~$500/yr, neoStampa ~$1k) |
|---|---|---|
| Speed | Slower for singles | Batch processing for production from suppliers like All American Print Supply |
| Ink Optimization | Basic white ink | Advanced circulation, nozzle check |
| Use Cases | Entry-level, small runs | Scalable t-shirt business, gang sheets |
| Color Profiles | Limited PET film support | Custom ICC for vibrant transfers |
| Automation | Manual previews | Auto quality control, ink agitation |
Free options suit beginner setup with low startup costs, like testing on Huedrift printers. Pro software shines for workspace setup with powder shaker and curing system integration. It cuts consumables waste in online sales workflows.
Hybrid approach: Use free for prototyping custom t-shirts, upgrade for dark fabrics and profit margins. Train teams on pro features for productivity tracking versus screen printing or vinyl HTV. This supports small business growth without high initial spend.
Step 3: Printing the DTF Transfer Film
Print designs onto PET film using dtf printer with proper ink agitation for consistent white ink flow. Load the PET film into the printer and run a nozzle check before starting. This phase sets the foundation for high-quality custom t-shirts in your t-shirt business.
Focus on precise techniques to avoid common errors like wrinkled film. Agitate inks for even flow, especially white ink critical for dark fabrics. Use RIP software to optimize designs for gang sheets and production scale.
Troubleshooting keeps your printing workflow smooth. Check color profiles and film tension daily. Proper setup reduces waste on consumables and boosts profit margins for small businesses.
For beginner setup, start with Prestige A4 or HueDrift printers. Integrate with powder shaker and Hotronix FUSION later. This step ensures vibrant prints on cotton polyester blends like Gildan 5000.
Optimal Ink and Film Loading Techniques
Load 0.5mm PET film straight, secure white ink cartridges with agitation on for 30 seconds pre-print. This prevents clogs in your dtf printer. Straight loading avoids misfeeds in t-shirt business workflows.
Follow these numbered steps for efficiency:
- Clean the feed tray to remove dust or residue.
- Load A4 size PET film aligned perfectly.
- Prime inks with circulation for 2 minutes.
- Run a test print to verify quality.
The process takes about 3 minutes total. Avoid wrinkled film, which causes misfeeds and wasted consumables. Practice ensures consistent print quality for online sales on Etsy or Shopify.
For production scale, use Prestige R2 Pro with auto-feed. Team training on these steps cuts downtime. Pair with quality control checks before adhesive powder application.
Common Print Quality Issues and Fixes
Faded white ink or banding often stems from skipped nozzle checks; fix with immediate cleaning cycles on HueDrift printers. Daily maintenance prevents most problems in DTF printing. Experts recommend routine checks for small business success.
Address these four common issues quickly:
- Clogging: Use ink agitation and circulation to clear blockages.
- Banding: Recalibrate color profiles in RIP software.
- Fading: Perform nozzle check and replace old inks.
- Misalignment: Adjust film tension and realign tray.
Integrate fixes into your workspace setup. For example, on black shirts, test white underbase first. This maintains profit margins without high startup costs.
Combine with equipment care like weekly deep cleans. Track issues via productivity tracking logs. Smooth prints lead to better results on heat press settings with Hotronix Fusion.
Step 4: Powder Shaker Application
Apply adhesive powder evenly post-print using powder shaker for strong film-to-garment bond. This step is unique to DTF printing because the powder activates on dark fabrics like black Gildan 5000, Bella+Canvas 3001, Next Level 3600, or Smartex Apparel 402 shirts, creating a flexible adhesive layer that bonds the printed PET film to cotton polyester blends.
Without proper powder application, designs on blank garments may peel during heat press transfer. The powder embeds into wet CMYK + white ink and colored layers from your DTF printer, ensuring vibrant custom t-shirts with no minimums for small business runs or Etsy Shopify sales.
For t-shirt business beginners, use a Prestige A4 or Prestige R2 Pro setup with RIP software for precise ink output before powdering. This maintains high profit margins by reducing waste in your printing workflow. Experts recommend practicing on scrap PET film to perfect timing.
Integrate this into your workspace setup near the curing system. Proper powder use supports production scale growth, outperforming sublimation DTG or screen printing for gang sheets on diverse fabrics.
Even Adhesive Powder Distribution Tips
Shake powder for 10-15 seconds at 45 degrees angle over wet ink to achieve uniform 0.1-0.2mm layer. This ensures consistent powder shaker results in your DTF printing process, vital for dark fabrics and black shirt designs using Flexi DTF Pro or Ninja Transfers styles.
Time each print at 1 min for efficiency in beginner setup. Focus on quality control to avoid issues like cracking from over-powder, which harms print quality on cotton polyester blanks.
- Tap excess immediately after shaking to prevent buildup on pet film edges.
- Use sieve for clumps, ensuring smooth flow from consumables like adhesive powder.
- Coverage test with no shiny spots under light confirms even layer for heat press settings.
- Waste bin nearby catches fallout, keeping your entry-level powder shaker clean.
For team training, demonstrate on a HueDrift printers output. Track productivity tracking to refine nozzle check and ink circulation before this step. This boosts online sales with reliable transfers via Hotronix FUSION.
Step 5: Curing the Powder
Cure adhesive powder in oven to activate bonding before heat press. This step ensures the powder melts evenly, creating a durable bond between the DTF print and fabric. Proper curing boosts wash durability for your t-shirt business.
After shaking excess powder with the powder shaker, load the pet film into your curing system. Heat activates the adhesive, preventing peeling on dark fabrics or cotton polyester blends like Gildan 5000 blanks. Skip this, and your custom t-shirts risk poor print quality.
Experts recommend monitoring for a clear-to-matte transition on the film. This confirms full curing without scorching white ink or colors from your DTF printer like Prestige A4 or Huedrift models. Integrate curing into your printing workflow for consistent profit margins.
For small business setups, pair curing with heat press settings like Hotronix Fusion for final application. Track curing times to optimize productivity tracking and reduce consumables waste. This step scales from entry-level to production scale runs with no minimums for Etsy or Shopify sales.
Precise Oven Temperature and Timing
Set conveyor oven to 300-350 degreesF for 2-3 minutes to fully cure powder without scorching. Preheat to 325 degreesF first for stable heat in your workspace setup. This range suits RIP software outputs from Flexi DTF Pro or Ninja Transfers gang sheets.
Place film sticky-side up on the conveyor belt after powder shaker application. Ensure even spacing to avoid overlap, which can cause uneven curing on black shirt designs. Use gloves for handling hot pet film to maintain quality control.
- Preheat oven to 325 degreesF and verify with a thermometer.
- Load film sticky-side up, running sheets continuously for efficiency.
- Monitor the clear-to-matte transition as powder melts fully.
- Cool for 1 minute before stacking to prevent sticking.
A 100% cure shows no powder flake when rubbed gently. Low temperatures lead to peeling during heat press transfer, ruining prints on blank garments. Test cured sheets with nozzle check scraps to refine your color profiles and ink circulation.
For beginner setup, start with small batches to master timing using printers like Prestige L2. Avoid over-curing, which yellows white ink and affects online sales appeal. Consistent curing supports team training and compares well to sublimation DTG or vinyl HTV workflows.
Step 6: Final Heat Press Application
Apply cured film to garments like Gildan 5000 using Hotronix FUSION at precise settings. This final step ensures a professional finish in your DTF printing business. It bonds the dtf film securely to blank garments for custom t-shirts.
Preheat the garment to remove moisture, then position the cured print accurately. Use consistent heat press settings to avoid issues like scorching on cotton polyester blends. This maintains high print quality across dark fabrics or black shirts.
After pressing, perform a cold peel on the pet film for a smooth result. Integrate this into your printing workflow with tools like powder shaker and curing system. It supports production scale for small business online sales on Etsy or Shopify.
Regular equipment care on the Hotronix FUSION extends its life. Track productivity with quality control checks post-application. This step boosts profit margins in your t-shirt business by minimizing waste on consumables like white ink and adhesive powder.
Pressure, Time, and Temperature Guide
Press at 320 degreesF, medium pressure (40-60 psi), 10-15 seconds for cotton like Gildan 5000. These heat press settings deliver optimal adhesion in DTF printing. Adjust based on fabric to prevent damage in your workflow.
Preheat garments first to ensure even heat transfer. Align the cured film precisely before pressing. This avoids misalignment common in beginner setups with dtf printers like Prestige A4 or HueDrift printers.
| Fabric | Temperature | Time | Pressure |
|---|---|---|---|
| Cotton | 320 degreesF | 12 seconds | 50 psi |
| Polyester | 300 degreesF | 10 seconds | 40 psi |
| Cotton Poly Blend | 310 degreesF | 12 seconds | 45 psi |
| Dark Fabrics | 315 degreesF | 13 seconds | 50 psi |
Follow these steps: preheat garment, align film, press, then peel cold. High heat risks scorching, so test on scrap fabric first. Incorporate into rip software gang sheets for efficiency with no minimums.
For production scale, train your team on these settings using Hotronix FUSION. Monitor ink circulation and nozzle check before runs on printers like Smartex Apparel 402. This enhances print quality and supports custom t-shirts versus sublimation, DTG, or screen printing.
Quality Control Checklist for Every Print
Implement a 7-point checklist to ensure every DTF print meets commercial standards before shipping. This approach helps small businesses maintain print quality and build customer trust in a t-shirt business. Consistency reduces returns and boosts profit margins.
For your DTF printing workflow, inspect each custom t-shirt after the heat press. Check pet film application, white ink opacity, and adhesive powder curing. Use this routine to catch issues early in production scale.
Train your team on the checklist during team training sessions. Track results with simple productivity tracking sheets. This keeps your Etsy Shopify store reviews positive for blank garments like Gildan 5000.
Adapt the checklist for dark fabrics or cotton polyester blends like Next Level 3600. Experts recommend daily nozzle checks on your DTF printer like Prestige A4 to prevent clogs. Regular equipment care ensures no minimums orders ship flawlessly.
Testing Wash Durability and Stretch
Test prints on Bella+Canvas 3001 by washing 5x at 40 degreesC; no cracking >90% adhesion passes. This step verifies wash durability for real-world use in your t-shirt business. Focus on stretch tests to mimic wearer movement.
Start with a visual inspection: confirm colors stay vibrant without fading. Stretch the fabric 20% and check for cracks in the design. This catches issues from poor ink circulation or rip software settings.
- Visual check: Ensure colors vibrant and white ink opaque on dark fabrics.
- Stretch test: Pull 20% with no cracking in adhesive powder layer.
- Wash test: Run 5 cycles at 40 degreesC, dry normally, inspect adhesion.
- Peel test: Attempt to lift edges; strong bond holds for 50+ washes pro quality.
Incorporate this into your printing workflow after powder shaker and heat press settings. Use gang sheets for efficiency in small business runs. Compare to screen printing or vinyl HTV for superior results on black shirts.
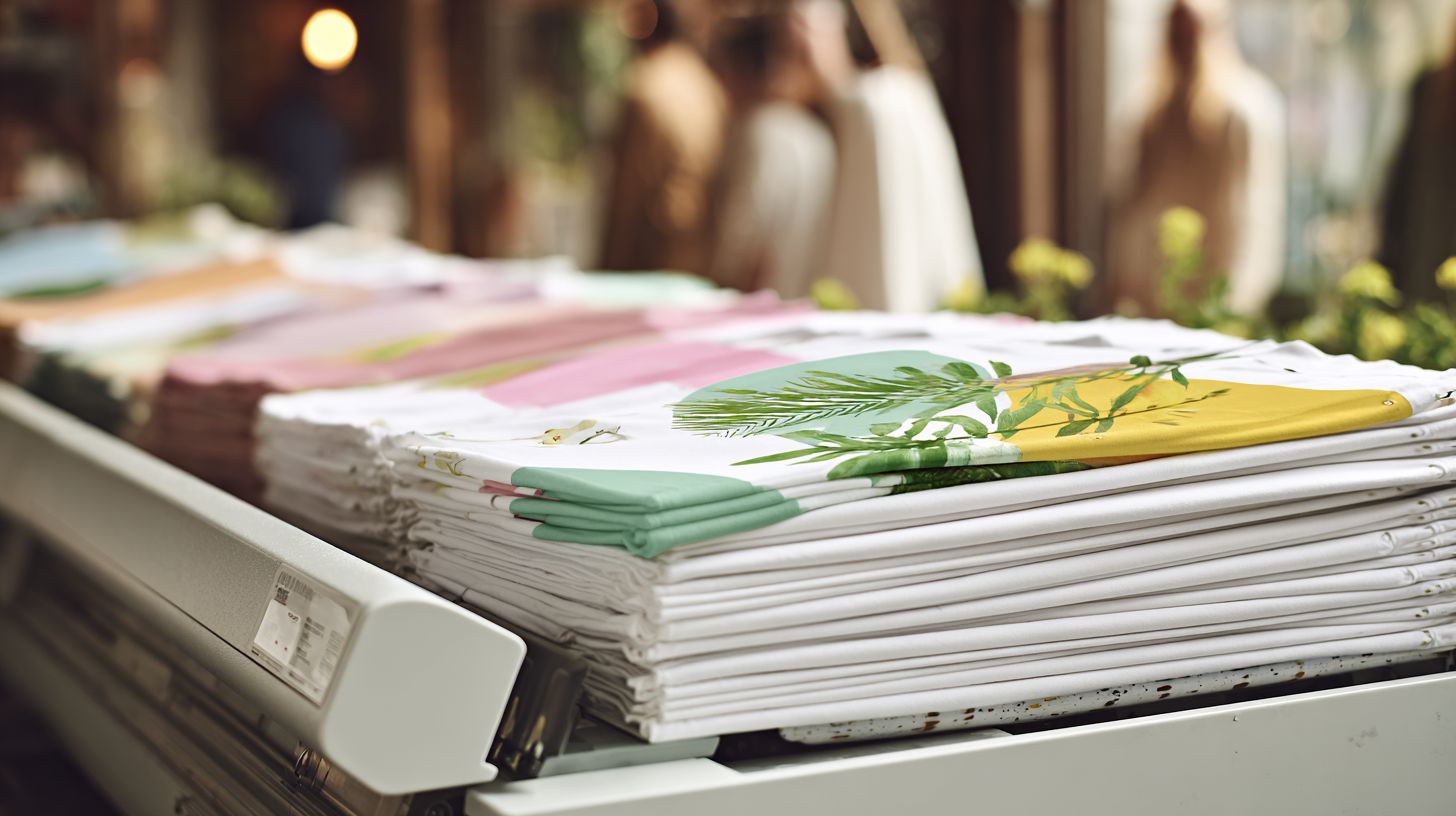
Scaling Your Workflow: From 10 to 100 Prints Daily
Scale from entry-level 10 prints/day on Prestige A4 to 100+ with batch processing and automation in your t-shirt business. This shift boosts output while keeping custom t-shirts profitable. Focus on efficient use of dtf printer, heat press, and consumables like PET film and CMYK + white ink.
Start by organizing your printing workflow around blank garments such as Gildan 5000. Add tools like powder shaker and RIP software to handle dark fabrics or cotton polyester blends. No minimums mean flexibility for Etsy or Shopify sales.
Invest in workspace setup with multi-press options like Hotronix FUSION. Track ink circulation and nozzle check routines to maintain print quality. This approach supports production scale without high startup costs from suppliers like All American Print Supply.
Team training on DTF printing equipment care and color profiles ensures consistent results. Move from beginner setup to steady online sales growth. Profit margins improve as you cure adhesive powder faster with a reliable curing system.
Batch Processing and Automation Tricks
Use gang sheets (6 designs/A4) and Prestige A4 or Prestige R2 Pro auto-feed to hit 100 prints daily. These methods streamline dtf printing for small business owners. An Etsy seller doubled output by grouping designs on PET film.
Key practices include the following:
- Gang sheets to fit multiple designs per sheet and cut prep time.
- RIP batch queue in flexi DTF Pro or similar RIP software for hands-off processing.
- Powder shaker conveyor to apply adhesive powder evenly across prints.
- Multi-press setup with Hotronix Fusion units for parallel pressing.
- Productivity tracking app to monitor runs and spot bottlenecks.
Combine these with HueDrift printers for CMYK + white ink agitation. Set heat press settings for black shirt or Ninja transfers. This handles supply chain demands efficiently.
Quality control stays strong with regular checks during scaling. Avoid issues on dark fabrics by testing color profiles first. Integrate with vinyl HTV or screen printing for variety in your t-shirt business.
Common DTF Workflow Mistakes to Avoid
Avoid pitfalls like ink clogging and peeling that waste materials in beginner setups. These issues often stem from skipped maintenance in the DTF printing process. Proper care boosts print quality and protects profit margins for your t-shirt business.
Common errors include ignoring ink circulation on the DTF printer, under-curing adhesive powder, and mismatched heat press settings. Beginners face these in workspace setup without routines. Fixing them cuts downtime and improves output on dark fabrics or cotton polyester blanks like Gildan 5000.
Overlooking nozzle checks leads to clogs, while rushed powder application causes peeling on pet film. Use RIP software like Flexi DTF Pro for accurate color profiles. A powder shaker and curing system ensure consistent results for custom t-shirts.
One user with a Prestige A4 setup fixed peeling by adding quality control steps. Track productivity to spot issues early in your small business. These habits scale from entry-level to production scale without high startup costs.
Overcoming Ink Clogging and Peeling Problems
Ink clogging from poor circulation affects many beginners; daily nozzle checks prevent it. Stir white ink every two hours to maintain flow on your DTF printer. This simple step keeps the printing workflow smooth for gang sheets and online sales via Etsy or Shopify.
Peeling happens with incomplete adhesive powder curing; apply full cure times in your powder shaker. Test on blank garments to confirm adhesion before pressing. Pair with a Hotronix Fusion for reliable heat press results on black shirts.
- For ink clogging, run ink agitation routines twice hourly and clean nozzles daily with manufacturer solutions.
- Combat peeling by fully curing powder at set temperatures, avoiding under-exposure in the curing system.
- Prevent fading by setting RIP software white ink to 100% opacity for vibrant prints on dark fabrics.
- Avoid cracking with precise heat press settings, like 320 degrees for 12-15 seconds on cotton polyester.
A user with a Prestige R2 Pro and Huedrift printers fixed these through routine equipment care. They added team training for consumables handling, lifting no minimums orders. Consistent checks now support their supply chain for Ninja transfers and vinyl HTV alternatives.
How Professional Software Transforms DTF Efficiency
Professional RIP software like Needlic automates color profiles and batch processing, cutting DTF production time by 50% over free tools. Small businesses scaling for Shopify sales see faster results and better quality. This upgrade handles complex designs on dark fabrics with precise white ink layering.
Free tools often struggle with gang sheets and multi-layer prints for custom t-shirts. Needlic streamlines printing workflow, reducing errors in pet film prep and adhesive powder application. Owners report smoother runs on Prestige A4 or Prestige R2 Pro dtf printers.
For a t-shirt business handling online sales, premium RIP software boosts profit margins by minimizing waste. It optimizes nozzle check routines and ink circulation, ensuring consistent print quality. Teams train faster on heat press settings for Gildan 5000 blanks.
Upgrade to premium options for superior RIP over free tools. This shift supports production scale without high startup costs, perfect for Etsy and Shopify shops printing no minimums on cotton polyester blends like Smartex Apparel 402.
Cost-Saving Workflow Optimizations for Beginners
Optimize to slash consumables waste by 25%, boosting profit margins on Gildan 5000 prints. Beginners in a dtf printing business often overspend on supplies like PET film and white ink. Simple changes in your printing workflow can keep costs low while handling custom t-shirts for online sales.
Focus on inventory management to avoid overstocking adhesive powder or blank garments. Track usage daily with basic tools, and order just what you need for small runs on dark fabrics or cotton polyester blends. This approach cuts startup costs and supports no minimums for Etsy or Shopify shops.
Incorporate waste reduction by testing gang sheets on your DTF printer like the Prestige A4. Reuse scraps in powder shaker sessions, and maintain nozzle checks to prevent ink waste. These steps build efficiency for entry-level setups with a heat press and RIP software.
Scale production by monitoring workspace setup and equipment care, such as ink circulation on Huedrift printers. Train your team on quality control and color profiles to minimize reprints. Over time, this raises productivity and profit margins in your t-shirt business.
Inventory Management and Waste Reduction
Track PET film and adhesive powder stock via simple spreadsheet to cut overstock. This basic tool helps beginners log daily usage in their DTF printing workflow. It prevents excess supplies from tying up cash in a small business.
Maintain a waste log to target minimal scraps from Prestige R2 Pro or Hotronix Fusion setups. Review it weekly to spot patterns, like overuse during curing system tests. Adjust heat press settings based on findings to improve print quality on black shirts.
Follow these best practices for ongoing savings:
- Order just-in-time from suppliers like All American Print Supply to match production scale.
- Keep waste log targeting under 5% through regular nozzle checks and ink agitation.
- Bulk buy PET film only after confirming demand from gang sheets or Flexi DTF Pro runs.
- Recycle scraps into test prints for dark fabrics or Ninja Transfers experiments.
- Set supplier alerts for low stock on white ink to avoid downtime in your powder shaker routine.
For example, one shop reduced startup costs by logging waste and switching to just-in-time orders. This freed up funds for a curing system upgrade, boosting output on Gildan 5000 blanks. Apply these in your beginner setup to enhance profit margins without sublimation, DTG, screen printing, or vinyl HTV distractions.
🚀 Upgrade Your Embroidery Workflow
Stop wasting time with low-quality tools. Use professional software for faster and better results.